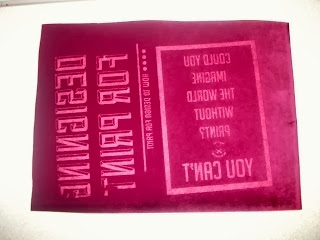
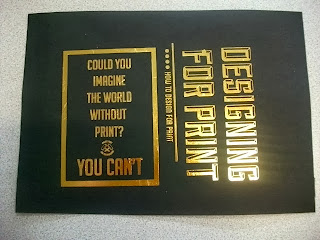
After completing primary research into screen printing, Charlie and I decided to further this into Foiling and flocking.
To do this we had to get a textiles screen (white mesh). We then went through the same cleaning and exposing process to create the screen. We decided to only do one design each for this process as.
To do this we had to get a textiles screen (white mesh). We then went through the same cleaning and exposing process to create the screen. We decided to only do one design each for this process as.
 |
| Exposed screen |
To start with we decided to do one print for each process, though bought enough of the material to do two. We decided on a gold foil on black paper and burgundy flocking on white paper. To do this process we needed glue which is specifically for this process, which is what you put through the screen.
 |
| Equipment |
 |
| Taped up screen |
 |
| Printing the glue |
We then printed the glue onto the two pieces of paper. As the print goes into the heat press, the glue doesn't need to be wet when this process is completed. It means there is no rush to get it from the screen straight into the heat press. This is good because the glue clogs the screen up very quickly so it needs to be washed immediately otherwise the print may become useless.
 |
| Glue on the paper. |
Once these were done, we peeled the foil off to reveal the first design. We then put the flocking through and did the same.
Finished designs:
Once these were finished I cut them down to size and we each took our designs.
 |
| My designs |
Problems faced/everything that went wrong
Flocking: On the second attempt at flocking, a small bit of my print came out a bit patchy. I'm not sure if this is to do with the amount of the glue in this area or if the flock paper was pulled off too soon.
Foiling: On the second attempt at foiling, the foil came out quite creased in certain areas. This was to do with the face the foil was spread across the print too many times instead of just left to sit on the top.


No comments:
Post a Comment